Create a Multi-Cloud Setup of Kubernetes cluster

Description:
CREATE A MULTI-CLOUD SETUP of K8S cluster :
- Launch node in AWS
- Launch node in Azure
- Launch node in GCP
- One node on the cloud should be Master Node
- Then set up multi-node Kubernetes cluster.
So to do this task, I have created three nodes :
Master node on AWS, Slave nodes on AWS, Azure, and GCP.
First: Setting up Kubernetes master on AWS :

Step-1: For installing kubelet, kubeadm, kubectl first, we need to set up a repo for this :
vim /etc/yum.repos.d/k8s.repo# content inside repo k8s.repo[kubernetes]name=Kubernetesbaseurl=https://packages.cloud.google.com/yum/repos/kubernetes-el7-\$basearchenabled=1gpgcheck=1repo_gpgcheck=1gpgkey=https://packages.cloud.google.com/yum/doc/yum-key.gpg https://packages.cloud.google.com/yum/doc/rpm-package-key.gpgStep-2: Installing required software :
yum install docker kubelet kubeadm kubectl iproute-tc -yStep-3: Starting and enabling services :
systemctl enable --now dockersystemctl enable --now kubeletStep-4: We also need to pull docker images using kubeadm. It pulls images of the config files.
kubeadm config images pullStep-5: Now, we need to change the docker cgroup driver into systemd
vim /etc/docker/daemon.json{"exec-opts": ["native.cgroupdriver=systemd"]}Step-6: Since we have made changes in docker, we need to restart the docker service :
systemctl restart dockerStep-7: Setting up a network bridge to 1 :
echo "1" > /proc/sys/net/bridge/bridge-nf-call-iptableStep-8: The important step is while initializing Master, while running preflight the main thing is we need to associate the token to the public IP of instance, so that any of the other nodes can easily connect, so for this use :
--control-plane-endpoint=<PUBLIC_IP>:6443kubeadm init --pod-network-cidr=10.244.0.0/16 --control-plane-endpoint=<public_ip>:6443 --ignore-preflight-errors=NumCPU --ignore-preflight-errors=MemStep-9: Now, make a directory for Kube config files and give permission to them :
mkdir -p $HOME/.kubesudo cp -i /etc/kubernetes/admin.conf $HOME/.kube/configsudo chown $(id -u):$(id -g) $HOME/.kube/configStep-10: Apply flannel :
kubectl apply -f https://raw.githubusercontent.com/coreos/flannel/master/Documentation/kube-flannel.ymlStep-11: Final step: Generate token so that slave nodes could connect to master node :
kubeadm token create --print-join-commandSecond: Setting up Kubernetes nodes on AWS, Azure, GCP :
(Note: Follow same steps in all the three platforms)
-
AWS

-
Azure

-
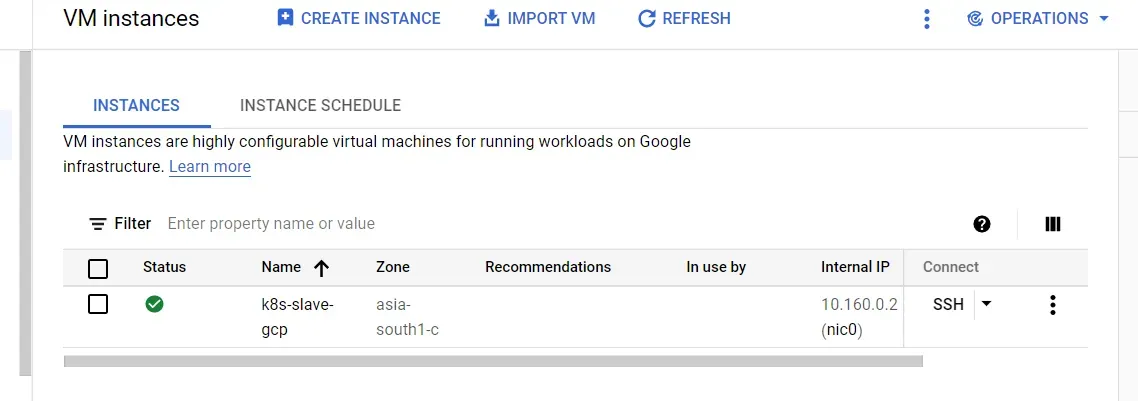
GCP
Step-1: For installing kubelet, kubeadm, kubectl first, we need to set up a repo for this :
vim /etc/yum.repos.d/k8s.repo# content inside repo k8s.repo[kubernetes]name=Kubernetesbaseurl=https://packages.cloud.google.com/yum/repos/kubernetes-el7-\$basearchenabled=1gpgcheck=1repo_gpgcheck=1gpgkey=https://packages.cloud.google.com/yum/doc/yum-key.gpg https://packages.cloud.google.com/yum/doc/rpm-package-key.gpgStep-2: Installing required software :
yum install docker kubelet kubeadm kubectl iproute-tc -yStep-3: Starting and enabling services :
systemctl enable --now dockersystemctl enable --now kubeletStep-4: We also need to pull docker images using kubeadm. It pulls images of the config files :
kubeadm config images pullStep-5: Now, we need to change the docker cgroupdriver into systemd :
vim /etc/docker/daemon.json{"exec-opts": ["native.cgroupdriver=systemd"]}Step-6: Since we have made changes in docker, we need to restart the docker service :
systemctl restart dockerStep-7: Setting up a network bridge to 1 :
echo "1" > /proc/sys/net/bridge/bridge-nf-call-iptableStep-8: Copy-paste the token generated in the master node….
Finally, in the master node :
kubectl get nodesYou will see that all the nodes are connected and are ready :

...
Further Reading
- The Lazy Solution! 02.May.2025
- Debugging Pandas Unexpected Type Conversion 07.Feb.2025
- Part-2 More about Docker 27.Feb.2023
...